Earlier, I posted about turning old pants into maternity pants. I've found another pair of secondhand pants to convert. This time, I'm going to use a completely different method. I'll call this Method 3: Converting Large Pants. For methods 1 and 2, see the older post.
Method 3: Converting Large Pants
To make maternity pants this way, I found a pair of pants that fit over my belly. Basically, the pants were a couple of sizes bigger than my regular size.
Before my alterations, the pants were super baggy in the legs. All I had to do to make them look right, was to alter the legs. To do this, I laid out my pair of well fitting Ginger Jeans on top, lined up the crotches, and traced the new leg shape (I made sure that both pants had the same amount of stretch, too). I graded the existing burgundy pants seam from about the bottoms of side pockets to the near the crotch level of the pants and then followed my Ginger jeans' shape. I also added about 1/2" width compared to my jeans because I wanted them a little looser.
To be even lazier with my changes, I matched up the in-seams of the pants. That way I only took in the extra fabric from the outside seams. The outside seams were easier to alter, since they were not top-stitched into place like the in-seams were. Doing this could cause off-grain fabric issues. But, I decided to take a gamble, since the fabric is so dark and the pants only cost me $4. In the end, I don't think I can tell.
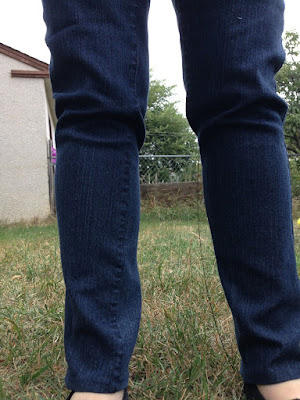
The result is a pair of maternity pants that feel and look like regular pants. The fabric is also better quality than most off-the-rack maternity pants are made with. I find them super comfortable and I think the colour is great for fall.
I'm about 21 weeks along. There is still room in the belly area for my tummy to grow. Once I get too big, I can go back and use one of the other methods of making maternity pants to make them fit again.


